Adding System Sound Effects to a macOS App in Swift
Access the native OS sounds and pick them in SwiftUI

When creating a macOS app, oftentimes sound feedback is a nice feature to add polish. We can even let the user pick their own sounds. To fit in with the theme of the OS, sometimes it's best to use the sounds already built into the system.
Unfortunately, AppKit does not offer an easy API for accessing the system sounds. However, we can find and read them from the file system:
func getSystemSoundFileEnumerator() -> FileManager.DirectoryEnumerator? {
    guard let libraryDirectory = NSSearchPathForDirectoriesInDomains(.libraryDirectory, .systemDomainMask, true).first,
          let soundsDirectory = NSURL(string: libraryDirectory)?.appendingPathComponent("Sounds"),
          let soundFileEnumerator = FileManager.default.enumerator(at: soundsDirectory, includingPropertiesForKeys: nil) else { return nil }
    return soundFileEnumerator
}
Next, we need to register the sound files with the system audio services so we can use them as sound effects in the app. Let's create a simple struct to store the sound name and registered sound id:
import AudioToolbox

struct SoundEffect: Hashable {
    let id: SystemSoundID
    let name: String

    func play() {
        AudioServicesPlaySystemSoundWithCompletion(id, nil)
    }
}

extension SoundEffect {
    static let systemSoundEffects: [SoundEffect] = {
        guard let systemSoundFiles = getSystemSoundFileEnumerator() else { return [] }
        return systemSoundFiles.compactMap { item in
            guard let url = item as? URL, let name = url.deletingPathExtension().pathComponents.last else { return nil }
            var soundId: SystemSoundID = 0
            AudioServicesCreateSystemSoundID(url as CFURL, &soundId)
            return soundId > 0 ? SoundEffect(id: soundId, name: name) : nil
        }.sorted(by: { $0.name.compare($1.name) == .orderedAscending })
    }()
}
Now we can use the SoundEffects anywhere in the app. Here is an example using SwiftUI to display them in a Picker and trigger the sound whenever the selection changes:
import SwiftUI

struct SoundEffectPicker: View {
    @Binding var selection: SoundEffect?

    var body: some View {
        Picker(selection: $selection, label: Text("Sound:")) {
            Text("None").tag(nil as SoundEffect?)
            ForEach(SoundEffect.systemSoundEffects, id: \.self) { sound in
                Text(sound.name).tag(sound as SoundEffect?)
            }
        }.onChange(of: selection) { sound in
            sound?.play()
        }
    }
}
One important note to mention: SoundEffect.systemSoundEffects needs to be invoked at some point when your app runs so the sounds get registered with AudioServices. For example, if you only used the Picker in a preferences window and that may not be open the next time the app starts up, the sounds wouldn't be registered. You could simply add it to your app delegate on launch to be sure:
func applicationDidFinishLaunching(_: Notification) {
   _ = SoundEffect.systemSoundEffects
}
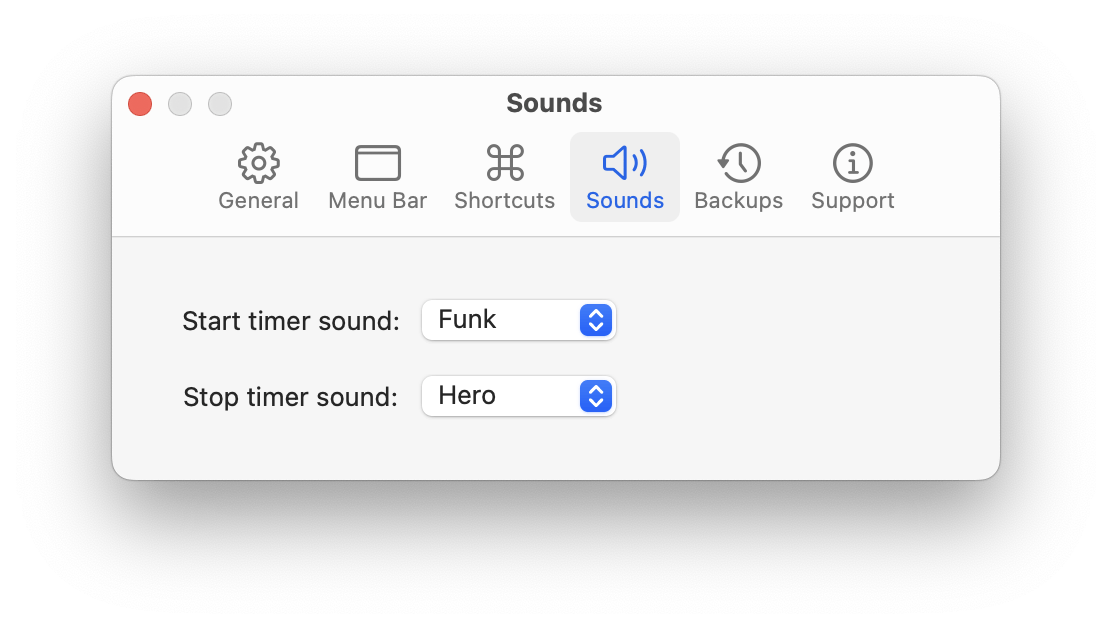
You can see how we integrated this in a real app to add sound effect preferences in our time tracking app: Tim

A full demo app of this code can be found on GitHub: https://github.com/neatsoftware/SoundEffectsDemo
